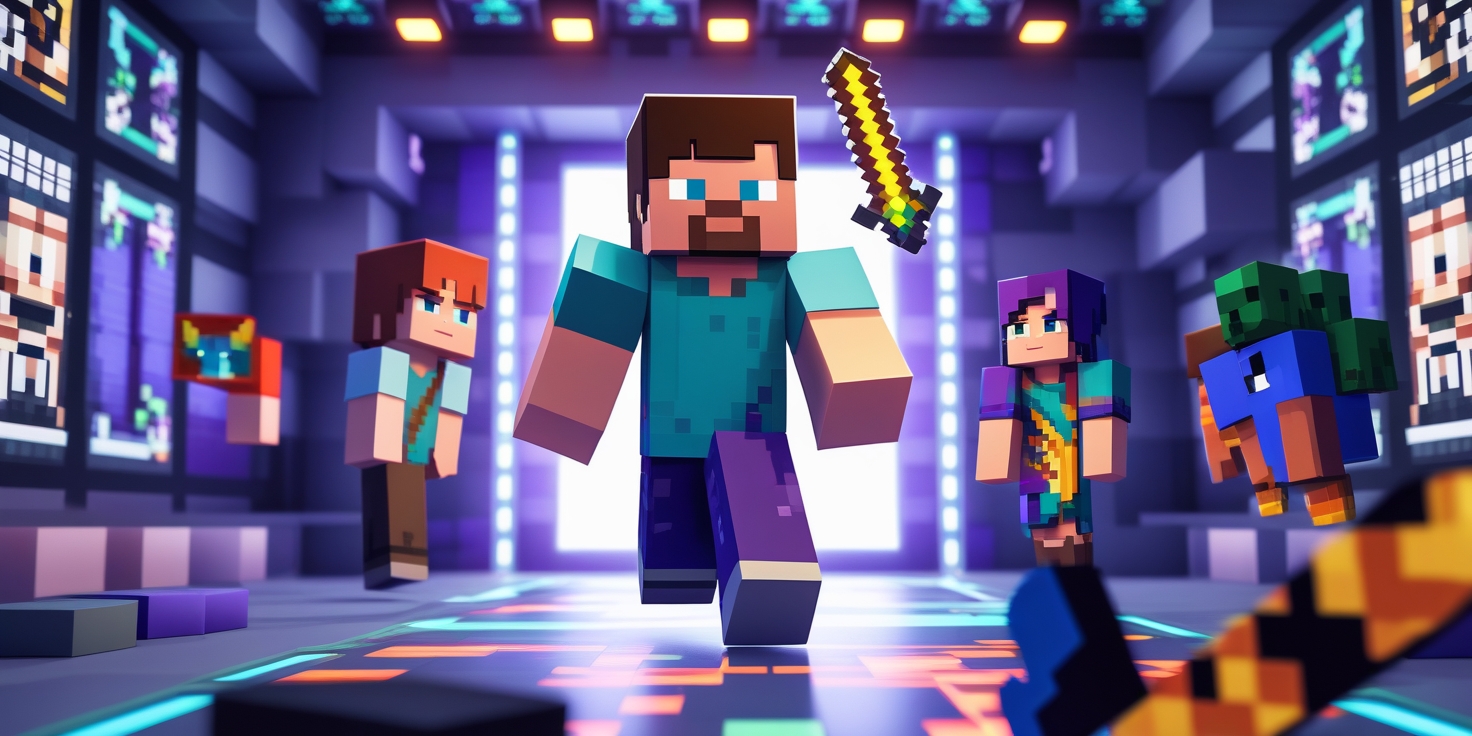
If you searched for Minecraft skin editor, you want one thing: a simple, reliable way to create or tweak a custom player look that stands out in-game. A good Minecraft skin editor lets you paint, shade, preview, and export a skin quickly — whether you’re making a simple outfit, a full pixel portrait, or a pro-level shaded suit. This guide walks through everything: what skin editors do, the most popular editors (web, desktop, and mobile), step-by-step creation and upload workflows, tips for shading and detail, Java vs Bedrock differences, legal considerations, and a helpful Q&A. Read this and you’ll be able to make and publish great skins today.
Quick overview — what this guide covers
- What a Minecraft skin editor is and why it matters
- Best editors (web, desktop, mobile) and who they suit
- Step-by-step: create a skin from scratch (with screenshots you can imagine)
- Advanced tips: shading, layering, and accessories
- How to export and apply skins in Java and Bedrock editions (PC, console, mobile)
- Where to share and download skins legally
- FAQ and troubleshooting
What is a Minecraft skin editor?
A Minecraft skin editor is a tool that lets you design the 64×64 (or legacy 64×32) pixel “texture” that wraps around your Minecraft character model. Editors provide a grid or 3D preview so you can paint directly onto each face (head, body, arms, legs) with color, transparency, and layers. Modern editors usually include:
- 3D preview (rotate/zoom)
- Pixel brush / fill / color picker
- Layer support (head overlay vs base)
- Import/export (.png)
- Presets, templates, and community skins to remix
- Simple animation preview for emotes in some editors
Why use an editor instead of a profile picture? Because skins are the personal identity of your Minecraft avatar — they show up in servers, videos, and screenshots. The right skin communicates style, roleplay identity, or brand (for creators).
Popular Minecraft skin editors — web, desktop & mobile
Web-based editors (easy, no install)
- The Skindex (minecraftskins.com) — huge community gallery, easy editor, quick upload. Great for beginners who want templates and community skins to remix.
- Nova Skin — robust editor with advanced layer control and effects, plus a large skin gallery. Good if you want fast shading tools and 3D preview.
- Miners Need Cool Shoes — user-friendly with a simple interface, good for quick edits.
Why choose web editors: no install, shareable links, immediate publishing, and big galleries to browse.
Desktop editors (power & offline)
- MCSkin3D (Windows) — classic desktop tool with advanced UV editing and offline work; great for detailed texture maps and large projects.
- GIMP/Photoshop + template — pro-level artists use a layered image editor with a Minecraft skin template for full control.
Why choose desktop editors: offline editing, higher control, use of professional tools (layers, blending modes).
Mobile editors (create on the go)
- Skinseed (iOS/Android) — popular mobile editor with community skins and simple painting tools.
- Skins Pro Editor — another solid mobile choice with import/export to Minecraft Pocket Edition.
Why choose mobile editors: draw with your finger or stylus, quick edits while away from your PC.
Step-by-step: Create a Minecraft skin from scratch (beginner-friendly)
Below is a practical workflow you can follow in any modern Minecraft skin editor.
1. Start with the right template
- Use a 64×64 PNG template (modern format supports hat/overlay layers).
- If you find a 64×32 template, that’s the legacy format — it still works for older setups but lacks overlay layers.
2. Block-in base colors
- Pick a palette: limit yourself to 4–6 base tones for clarity (skin tone, clothes, accent, hair).
- Fill each body part with flat base color first (head, torso, arms, legs). This makes later shading clear.
3. Add simple details
- Add clothing seams, shoes, belts, pockets using slightly darker/lighter tones. Keep details consistent across faces.
- For face design, place eyes symmetrically and avoid huge distractions (unless that’s the style).
4. Shade for depth
- Use a slightly darker color for shadowed pixels and a lighter color for highlights. Think of a light source — usually from above-left in Minecraft skins.
- Keep transitions crisp — Minecraft pixels read best when shading is deliberate (one or two pixels per gradient step).
5. Use overlays (hat layer)
- The overlay/hat layer lets you add 3D details (jackets, hoods, glasses) that sit above base layers. Use transparency to create cutouts.
6. Preview in 3D constantly
- Rotate the 3D preview to check seams and how colors read from all sides. Pay special attention to the neck seam and arm/torso junctions.
7. Export the PNG
- Export/save as
.pngwith transparency. Name it clearly (yourusername_skin.png).
Tips for pro-level skins — shading, color theory & tricks
Shading & contrast
- Use a limited palette (4–6 colors per area). Too many colors create noise.
- Apply rim lighting (a one-pixel highlight on edges) to make armor or accessories pop.
- Avoid pure black for shadows — use darker desaturated tones.
Texture & detail
- For fabric texture, add small irregular pixels to suggest weave rather than large blocks of color.
- For metal or armor, use thin bright highlights and a darker base; add scratches using single pixels.
Symmetry vs asymmetry
- Symmetry is clean and easy, but small asymmetrical elements (a patch, torn hem) give character and realism.
Pixel economy
- Every pixel counts. Use negative space to create clear read on small viewing angles, especially for hats and face.
Copying pro skins (do it ethically)
- It’s OK to use other skins for inspiration, but don’t republish a creator’s exact work as yours. Remix, add your own twist, and credit original artists when appropriate.
Java vs Bedrock — skin formats & how to apply them
Knowing which edition you play changes how you upload and use skins.
Java Edition (PC — Minecraft.net)
- Format: 64×64 PNG with separate layers (skin file wraps on the classic player model).
- Upload: Sign in to Minecraft.net → Profile → Upload Skin → Choose file → Save.
- Model types: Classic (Steve) vs Slim (Alex) — pick the correct arm width when uploading.
Bedrock Edition (Windows 10/11, consoles, mobile)
- Format: Also supports PNG skins, but Bedrock has a different in-game UI and marketplace capability.
- Upload on PC/mobile: In-game Skin menu → Choose custom skin → Upload PNG.
- Consoles: Some consoles let you import via Realms or external apps; others use the Marketplace or companion apps for custom skins.
Important: Java skins uploaded to Minecraft.net work universally for Java players, but Bedrock uses a separate ecosystem with built-in marketplace items and sometimes different handling of overlays. Always test the skin in your edition.
How to import skins into Minecraft (step-by-step)
Java (web method)
- Go to minecraft.net and sign in with your Mojang/Microsoft account.
- Navigate to Profile → Skins.
- Click Upload and select your PNG. Choose Classic or Slim model.
- Save and launch the Minecraft Launcher; your character will use the new skin.
Bedrock (in-game)
- Open Minecraft (Bedrock) and go to Profile.
- Select Edit Character → Classic Skins → Import.
- Choose the saved PNG file and adjust if prompted.
Console/workaround
- For consoles that don’t support direct file upload, use the Bedrock mobile or PC client to set the skin on your Microsoft account or use a Realm where you upload the skin and then join via console.
Share & discover skins — safe places to publish or download
- The Skindex (minecraftskins.com) — huge library, easy uploads.
- Nova Skin Gallery — advanced editor + community skins.
- Planet Minecraft — larger community hub for maps, skins, and builds.
- CurseForge / Mod Sites — some curated skin packs are available for download.
Safety tip: Only download skins from reputable sites. Avoid suspicious downloads or executables — skin files are simple PNGs and should never come zipped with unknown executables.
Legal & ethical considerations
- Don’t recreate copyrighted characters for resale or claim ownership over others’ art. Fan skins are generally tolerated for personal use, but commercial distribution can be risky.
- Credit creators when remixing someone else’s skin, especially if you post a modified version publicly.
- Respect community rules on skin sharing sites — many have reporting mechanisms and licensing preferences.
Troubleshooting common skin problems
Problem: Skin looks wrong on certain sides or seams are visible
- Check you used the correct template orientation — the front/back faces must match the UV map. Use the 3D preview to spot mismatched pixels.
Problem: Overlay or hat layer not showing
- Make sure your editor used the 64×64 overlay properly and didn’t flatten layers. Bedrock sometimes handles overlays differently — re-export ensuring transparency is preserved.
Problem: Skin not updating in-game
- For Java: log out and log back in or restart the launcher. For Bedrock: try reloading the character and ensure the skin file is the correct size and format.
Problem: Editing imported skin appears blurry
- You might be zoomed in incorrectly in the editor — check pixel grid settings and edit at 1:1 pixel level for crispness.
Advanced workflows — using Photoshop/GIMP & templates
For artists comfortable with advanced tools:
- Download a blank 64×64 skin template (with numbered faces).
- Create layers for each body part. Use layer groups: Head / Torso / LeftArm / RightArm / LeftLeg / RightLeg / Overlay.
- Paint at 200% zoom and use a grid to align pixels.
- Export flattened PNG with transparency.
- Use a test account or alternate profile to preview before publishing.
Pro tip: Keep a “reference” layer toggled off during export so you can work with guides and then remove them.
Creative ideas & starter projects
- Team uniform set — create matching skins for friends (colors/trim change).
- Seasonal skins — Halloween costume, holiday sweater, summer outfit.
- Mini-characters — tiny animal companions as costume overlays.
- Streamer brand skin — incorporate logo or signature colors (but avoid trademark infringement).
Frequently Asked Questions (FAQ)
Q: What size should a Minecraft skin be?
A: Classic and modern skins use 64×64 PNG. Legacy skins (very old) used 64×32.
Q: Can I animate a Minecraft skin?
A: Skins themselves are static PNGs. For animated characters, you can use mods, resource packs, or plugin-based cosmetic systems that simulate animation.
Q: Are skin editors safe?
A: Yes — web editors and mobile apps are safe when downloaded from trusted sources. Never run unknown executables; skins are PNGs and don’t need installers.
Q: Can I use a skin on both Java and Bedrock?
A: You can use the same PNG on both, but you may need to re-import and choose the correct model (Classic/Slim) and verify overlays.
Q: How do I credit a skin I remixed?
A: Post the original creator’s name and add a brief note like “Remix of [Creator] — edits by [YourName]” on the hosting page.

