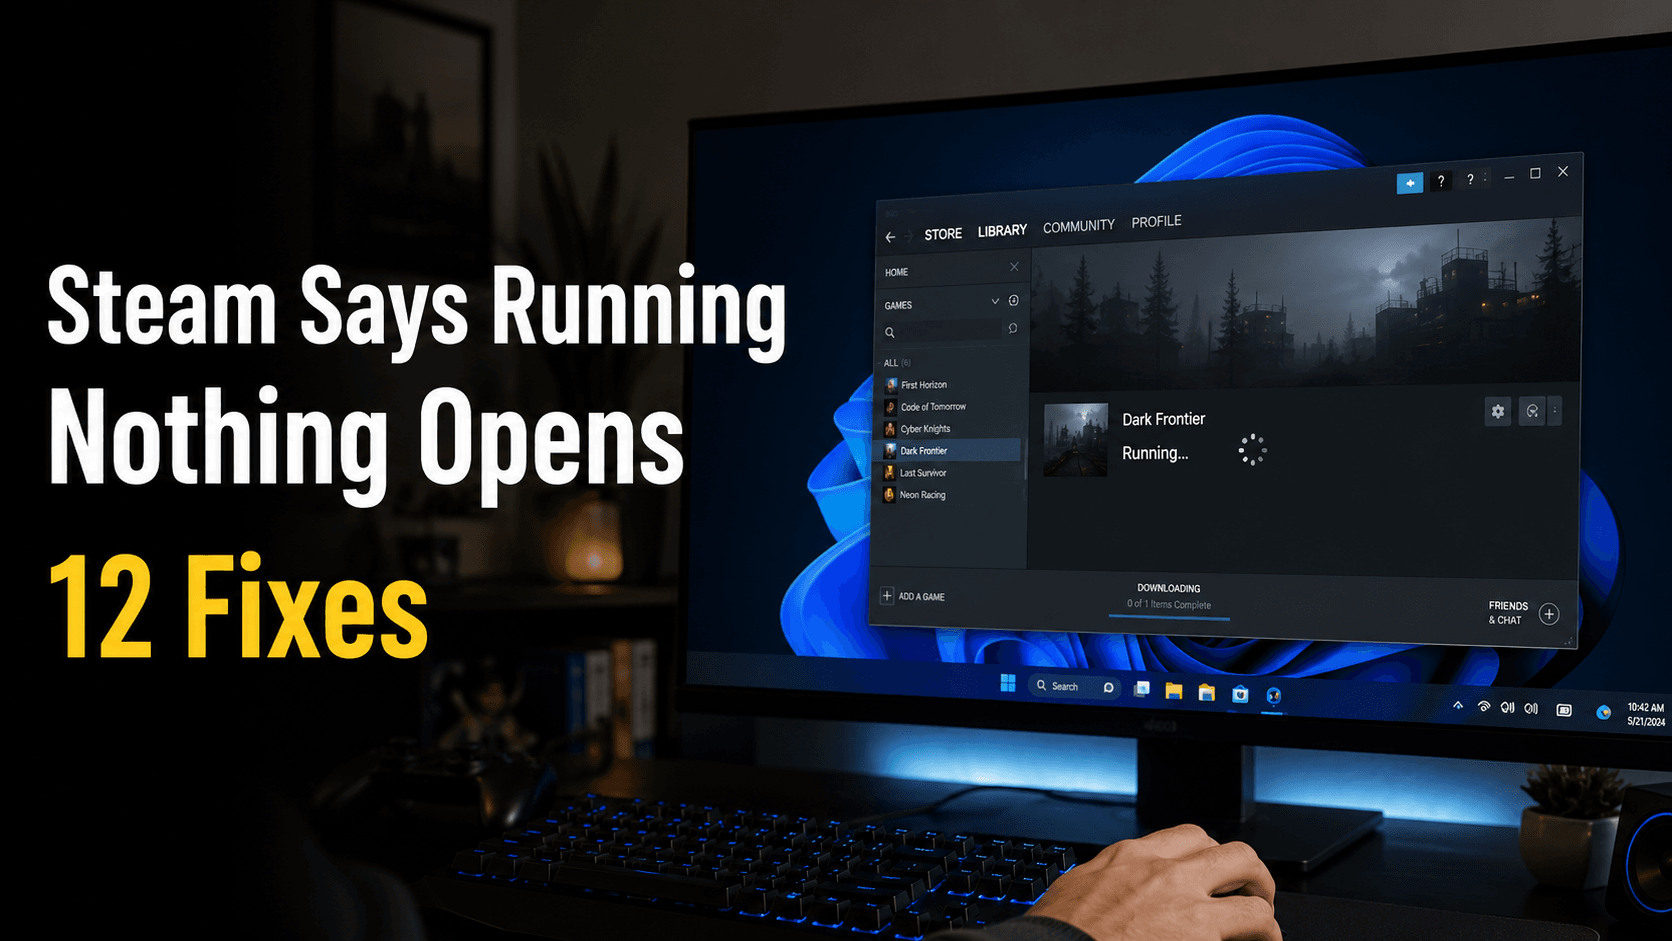
When You click Play in Steam, the button changes to Running, and you wait for the game window to appear. Nothing happens. There is no loading screen, no error message, and sometimes not even an icon on the taskbar.
In some cases, Steam stays stuck on Running until you restart the computer. In others, it switches back to Play after a few seconds. Both symptoms usually mean that Steam started part of the game, but something prevented the main game window from opening.
The cause could be as simple as a process left running in the background. It could also be a damaged game file, an off-screen window, an incompatible mod, a missing Microsoft runtime, an overlay conflict, or a problem with a separate launcher or anti-cheat service.
Start with the first three fixes. They are quick, safe, and often solve the problem without requiring a full reinstall.
1. Close the Game and Steam Completely
When a game crashes during startup, Windows may leave part of it running in the background. Steam sees that process and continues to display the game as Running even though there is no visible window.
Press Ctrl + Shift + Esc to open Task Manager. Under the Processes section, look for the game, Steam, or any related launcher. The process may use the game’s full name, an abbreviated name, or the name of the publisher’s launcher.
Select the process and click End task. Also close related programs such as Easy Anti-Cheat, BattlEye, EA App, Ubisoft Connect, Rockstar Games Launcher, or 2K Launcher when they appear to be stuck.
After closing the processes, exit Steam normally by clicking Steam in the upper-left corner and selecting Exit. Wait a few seconds, then reopen Steam and try the game again.
If the same issue returns, restart your PC. A full restart clears background services, temporary files, and stuck launcher processes more thoroughly than simply closing Steam.
Avoid repeatedly clicking Play while the game is stuck. Doing so may start additional launcher or crash-handler processes and make the issue harder to diagnose.
2. Check Whether the Game Opened Off-Screen
Sometimes the game is running correctly, but its window is minimized, hidden behind another program, or positioned outside the visible area of your monitor.
This often happens after changing monitors, disconnecting a TV, switching display arrangements, or playing the game on a laptop connected to an external screen.
Press Alt + Tab and look for the game. You can also press Windows key + Tab to view every open window and virtual desktop.
If the game appears in the task switcher but not on your screen, select it and press Alt + Enter. Many games use this shortcut to switch between full-screen and windowed mode.
For a window that may be stuck on another display, press Windows key + Shift + Left Arrow or Windows key + Shift + Right Arrow. This moves the active window between connected monitors.
You should also open Settings, select System, and choose Display. Confirm that Windows is detecting the correct monitor and that your main display is properly selected.
If you recently disconnected a second monitor, reconnect it temporarily and check whether the game appears there. Once the game opens, change its display setting to your current monitor before disconnecting the other screen again.
3. Verify the Integrity of the Game Files
A damaged or missing file can allow the game process to start while preventing the actual game window from loading. This can happen after an interrupted download, a failed update, a system crash, or an antivirus action.
Steam includes a built-in tool that checks the installation and replaces files that do not match the correct versions.
Open Steam and go to your Library. Right-click the affected game and select Properties. Open Installed Files, then click Verify integrity of game files.
Steam will scan the installation and download replacements when necessary. Larger games may take several minutes to verify, especially when installed on a slower drive.
Wait until the process is completely finished before clicking Play again.
Verification may replace files that were modified by mods, unofficial patches, ReShade, or other custom tools. Back up anything important before running the check.
Steam provides additional information in its official game-file verification guide.
4. Remove Launch Options and Temporarily Disable Mods
Custom launch options can solve specific performance or display problems, but an unsupported command may also stop a game from opening.
Right-click the game in your Steam Library and select Properties. On the General page, find the Launch Options box. Remove everything from the box, close the Properties window, and try launching the game again.
Commands such as -windowed, -dx11, -dx12, -safe, and -fullscreen are not supported by every game. A command that works in one title may do nothing—or cause a startup failure—in another.
Mods are another frequent cause of this problem. A game update can make an older mod incompatible even when the mod worked perfectly the day before.
Temporarily disable Steam Workshop content, script extenders, mod-manager profiles, ReShade, unofficial patches, custom DLL files, and manually installed modifications. Then test the game in its original, unmodified state.
If the game opens normally, restore your mods one at a time. Launch the game after each change so you can identify the specific mod causing the problem.
Do not copy every mod back into the folder at once. That usually recreates the original problem without showing which file is responsible.
5. Open the Game’s EXE File Directly
Steam does not always display startup errors. Opening the game’s executable file directly may reveal a message that is hidden when you launch it through the Steam client.
Right-click the game in your Library, select Manage, and choose Browse local files. File Explorer will open the game’s installation folder.
Look for the main application file, which normally ends in .exe. Some games place the executable inside a folder named Bin, Binaries, Win64, or something similar.
Double-click the executable and watch for an error message.
An error mentioning VCRUNTIME, MSVCP, or MSVCR usually points to a Microsoft Visual C++ problem. A DirectX message may indicate a missing component or graphics-driver issue. An anti-cheat error means the game’s anti-cheat installation may need to be repaired.
Some games will display a message saying Steam must be running. That is normal for games that require the Steam client. The purpose of this test is to uncover a more specific error that Steam may not show.
Do not download an individual DLL file from a random website. Third-party DLL sites may provide outdated, incorrect, or unsafe files. Install or repair the official software package that contains the missing component.
6. Repair Microsoft Visual C++ and DirectX
Many Steam games depend on Microsoft Visual C++ Redistributables. If one of these packages is missing or damaged, the game process may start but close before the window appears.
Download the supported packages from Microsoft’s official Visual C++ Redistributable page.
Unless the game developer gives different instructions, install or repair both the x64 and x86 versions. A 64-bit Windows 11 computer can still run a 32-bit game, so the x86 package may be required.
You can also check the game’s installation folder for a directory named _CommonRedist, Redist, or Support. Steam games often include the required Microsoft installers inside these folders.
Windows 11 includes modern DirectX components, but some older games still require legacy runtime files. Microsoft provides the official DirectX End-User Runtime Web Installer for these older components.
Restart your PC after repairing or installing the packages. Then open Steam and test the game again.
Avoid uninstalling every Visual C++ package listed in Windows Settings. Different games may require different versions, and removing older packages can cause other applications to stop working.
7. Update—or Roll Back—Your Graphics Driver
A graphics-driver problem can stop a game before its first window appears. This is especially likely when the issue began after a game update, Windows update, or driver installation.
Download the correct driver directly from your graphics hardware manufacturer:
Install the driver and restart the computer before testing the game.
Laptop owners should also check the support page for the laptop manufacturer. Some gaming laptops use customized graphics drivers or switch between integrated and dedicated graphics. The driver offered by the laptop manufacturer may be more reliable for that specific model.
The newest driver is not always the right solution. If the problem began immediately after a driver update, consider rolling back to the previous version.
To check whether Windows offers a rollback option, right-click the Start button, open Device Manager, expand Display adapters, and double-click your graphics card. Open the Driver tab and look for Roll Back Driver.
When that option is unavailable, download a previous stable driver directly from NVIDIA, AMD, Intel, or your computer manufacturer.
You should also open Settings > Windows Update and install any pending Windows 11 updates. Restart the computer even when Windows does not immediately request it.
8. Disable Overlays and Monitoring Software
Gaming overlays work by connecting to the game while it starts. Most of the time this happens without trouble, but certain overlays can conflict with older games, graphics APIs, or anti-cheat systems.
Begin with Steam Overlay. Right-click the game, select Properties, and turn off Enable the Steam Overlay while in-game.
Next, temporarily close programs such as Discord Overlay, Xbox Game Bar, NVIDIA Overlay, AMD recording tools, MSI Afterburner, RivaTuner Statistics Server, third-party FPS counters, screen recorders, RGB-control software, and controller-mapping utilities.
Closing the program from its main window may not be enough. Check the system tray near the Windows clock, right-click the program’s icon, and choose Exit or Quit.
Try launching the game after the overlays and monitoring tools are closed.
If the game opens, restore the programs one at a time and test after each change. This will show which program is creating the conflict.
There is no reason to leave every overlay disabled permanently when only one of them is responsible.
9. Check Windows Security and Your Antivirus
Windows Security or another antivirus program may block part of the game without displaying an obvious alert. Steam may still show the game as Running because the first process started successfully, even though a required executable was quarantined.
Open Windows Security, select Virus & threat protection, and choose Protection history. Look for entries involving the game’s installation folder, launcher, anti-cheat service, or executable file.
Read the detection details carefully. Restore a file only when the game came from a legitimate source and you have confirmed that the file belongs to the official installation.
If the antivirus repeatedly blocks a trusted game file, you may need to add a limited exclusion for the game’s folder. Do not exclude your entire Steam Library drive unless there is a specific reason to do so.
Microsoft explains the process and the related security risks in its official Windows Security exclusions guide.
Third-party antivirus users should check the program’s quarantine, blocked-app history, and recent events.
Do not permanently disable antivirus protection. Turning off security for the entire PC may expose your system without fixing the underlying issue.
10. Repair the Game’s Launcher or Anti-Cheat Service
Many Steam games rely on a second program before the game can open. Examples include EA App, Ubisoft Connect, Rockstar Games Launcher, 2K Launcher, Easy Anti-Cheat, and BattlEye.
When that secondary program freezes or fails to authenticate, Steam may continue to display Running while no game window appears.
First, restart the computer and open the secondary launcher by itself. Sign in, install any available launcher update, and check for an account or connection error.
Then close the launcher and start the game through Steam.
For an anti-cheat problem, browse to the game’s installation folder and look for a folder named after Easy Anti-Cheat, BattlEye, or another anti-cheat provider. Open the official setup program and select the repair option when one is available.
The exact location and filename vary between games. The game developer’s support page should provide the correct repair procedure for that title.
Steam and the secondary launcher should normally run at the same permission level. A conflict may occur when Steam is running normally but the launcher is set to run as an administrator, or the other way around.
Right-click the Steam shortcut and the launcher executable, open Properties, and check the Compatibility tab. Clear Run this program as an administrator unless the game developer specifically requires it.
11. Reset the Game’s Configuration Files
A game may be running without displaying a window because its saved graphics settings are no longer valid. The game could be trying to open on a disconnected monitor, use an unsupported resolution, or load a damaged configuration file.
Configuration files are often stored in one of these locations:
Documents\My Games
%LOCALAPPDATA%
%APPDATA%
The game’s installation folder
Press Windows key + R, enter %LOCALAPPDATA%, and press Enter. Look for a folder named after the game or its publisher. You can repeat the process with %APPDATA%.
Do not immediately delete the folder. Rename it instead. For example, change GameName to GameName.backup.
When you launch the game again, it should create a new folder with default settings. If the window now opens, the old configuration was probably the cause.
Back up the original folder first. Some games store local saved games in the same location as their graphics settings. Steam Cloud may protect certain saves, but cloud support differs between games and does not always include every local file.
You should also check the game executable’s compatibility settings. Right-click the main EXE, select Properties, and open the Compatibility tab. Clear any compatibility mode or administrator settings that were enabled without a specific reason.
For an older game, compatibility mode may help, but it should be tested carefully. Select one setting, launch the game, and remove the setting when it makes no difference.
12. Repair the Steam Library or Reinstall the Game
Before downloading the entire game again, repair the Steam Library folder and clear the download cache.
Open Steam Settings and select Storage. Choose the drive containing the game, open the library options menu, and select Repair Folder when the option is available.
Next, open Steam Settings, select Downloads, and click Clear Download Cache. Steam will restart and may ask you to sign in again. Make sure you know your Steam account password before clearing the cache.
This process does not normally uninstall installed games. It removes temporary download data that may interfere with updates, verification, or startup.
If the game still says Running but nothing opens, a clean reinstall may be necessary.
Before uninstalling, back up local saves, screenshots, custom maps, and other important files. Confirm whether the game supports Steam Cloud, but do not assume every file is synchronized.
Right-click the game in Steam, select Manage, and choose Uninstall. Restart your PC after the uninstall finishes.
Then check the original installation folder. Steam may leave behind mods, custom DLLs, ReShade files, or other manually added content. Back up anything important and remove leftover modification files before reinstalling.
Download the game again and launch the clean installation before restoring mods. Copying the same incompatible files back immediately may recreate the original problem.
Reinstalling the entire Steam client is usually unnecessary when only one game is affected. A Steam reinstall makes more sense when several games fail, the client frequently crashes, or Steam’s Library and download features are also malfunctioning.
What the “Running” Status Usually Tells You
The exact behavior after clicking Play can help narrow down the cause.
When Steam shows Running for a few seconds and then returns to Play, the game is probably crashing during startup. Damaged files, missing runtimes, driver issues, mods, or anti-cheat failures are common possibilities.
When Steam stays on Running indefinitely, a game process or secondary launcher may be frozen in the background. Task Manager is the best place to start.
When the game appears in Alt + Tab but not on the monitor, the window may be minimized, positioned off-screen, or using an invalid display setting.
When only one Steam game has the problem, focus on that game’s files, configuration, mods, launcher, and required software.
When every Steam game has the same problem, look more closely at Steam itself, Windows Security, graphics drivers, Windows system files, or the storage drive.
Check Windows Reliability Monitor for More Information
When there is no visible error, Windows Reliability Monitor may contain details about the failed launch.
Open the Start menu and search for View reliability history. Open the result and look for a red failure symbol around the time you tried to start the game.
Select the failure and click View technical details.
The report may list the faulting application, faulting module, exception code, and application path. This information is useful when searching the game developer’s support site or submitting a support request.
The module named in the report is not always the underlying cause. It may simply be the component that was active when the crash occurred. Still, the report provides a better starting point than a completely silent failure.
🔥 Related Posts

Bing Dota 2 Quiz — The Ultimate Guide to Acing It

G Games Unblocked: The Complete Guide for Safe, Fast, and Free Online Gaming in the USA

Edpuzzle Hack: What Students Really Search For & Safe Alternatives

Fortnite GG: The Best Fortnite Tracker & Stats Site for USA Players (2026)

Top 55 Cooperative Board Games 2026: Best Co-Op Games for Families, Friends, Couples, and Game Nights